


News

News
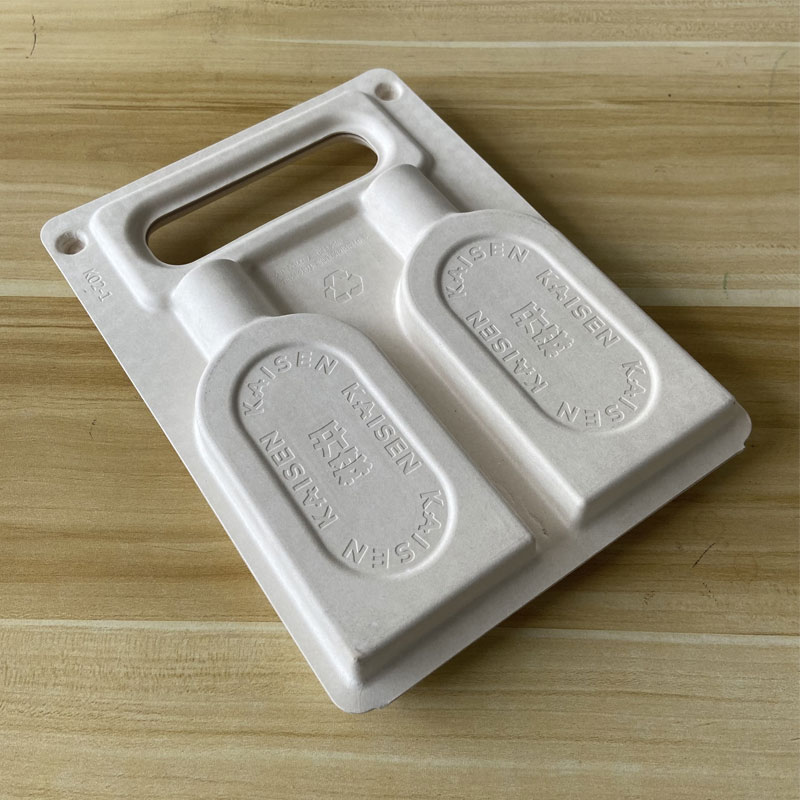
When buyers compare pulp molding lines, attention usually goes to the forming machine, hot press and output rate. But the component that actually determines what your product looks like, how thick it comes out and how cleanly it releases is the mold — the custom die that forms the wet fiber on the machine. This guide explains how paper tray molds and tooling are built, what they are made of, how cavity count affects output, and what a buyer should prepare before ordering a custom mold, so that the machine you buy can produce the tray or insert you actually need.
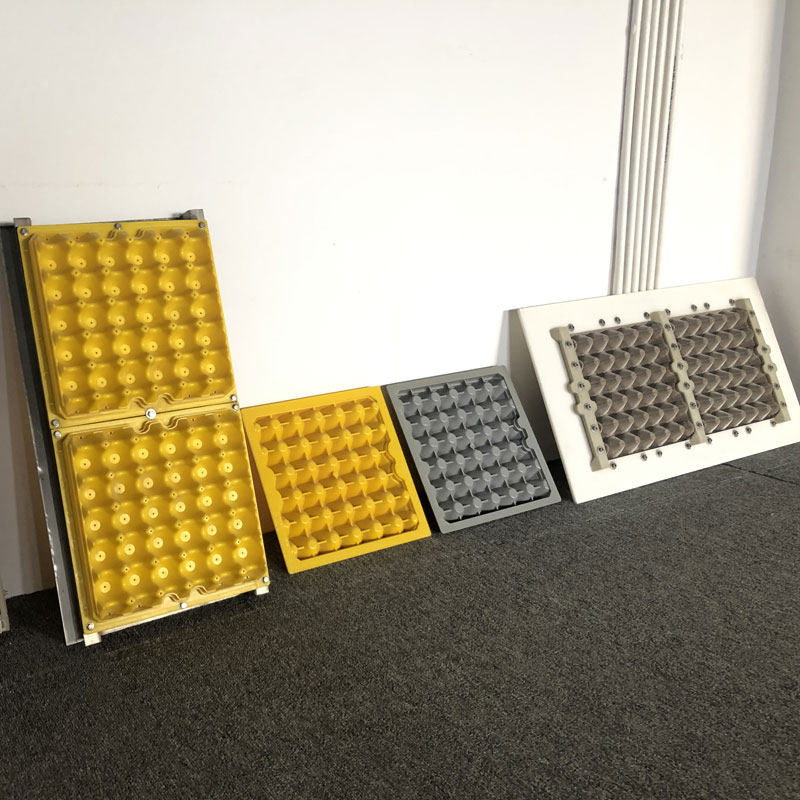
The forming machine is a reusable platform; the mold is the part that carries your product geometry. Every contour, recess, rim, logo mark and vent pattern is cut into the die. Two production lines running the same machine model can produce trays of very different quality because the mold finish, cavity shape and drainage detail are different.
From a buyer's perspective this means the machine purchase and the mold purchase should be planned together. The cavity must match the machine's forming size, station layout and vacuum system, and the product design must be compatible with the wall thickness and drying behavior the line can reach. A product drawing that looks correct on paper may need adjustment before it can be molded efficiently on a given press.
A working mold is more than a shaped block. A supplier builds it in several stages, and understanding each stage helps you read a quote and check a sample.
The base carries the cavity profile that matches the product's outer shape. The cavity depth, draft angle and rib placement are designed so wet fiber can be pulled off the mold without tearing and so the finished part keeps its dimension after drying. Undercuts and steep walls are reduced wherever the product design allows, because they complicate release and increase breakage.
Fiber is formed on the mold by drawing water through a screen using vacuum. The mold must carry the drainage pattern that lets water pass while retaining fiber evenly across the cavity. Poor drainage shows up as thin spots, uneven wall thickness or patches that do not form. This detail is one reason a tooling supplier with production experience matters more than a generic machine shop.
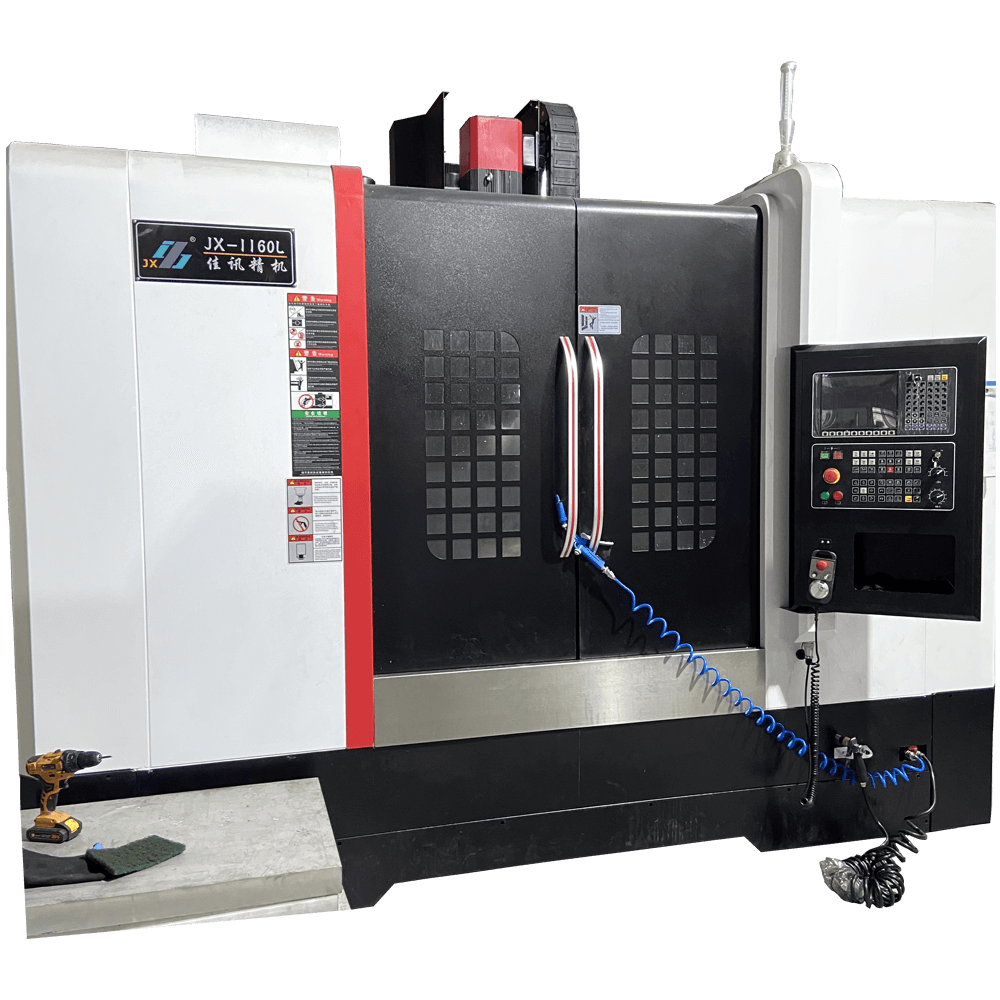
Modern molds are milled on a CNC machining center to hold consistent cavity dimensions across all positions in a multi-cavity die, then finished by hand where the surface must be smooth against the molded part. Precision here controls how evenly fiber deposits and how cleanly the tray releases. You can see the CNC machining centers used for mold production in the equipment line.
Mold choice depends on production volume, product finish and budget. Buyers usually compare the following options.
Aluminum forming dies. The most common production-grade choice: lightweight, machinable to a smooth cavity, and resistant to the wet environment of the forming station. Aluminum molds are the standard for regular egg trays, fruit trays and inserts where a clean release and consistent finish matter.
Resin or prototype tooling. Used for low-volume runs or first-stage samples before a production die is committed. It is faster and cheaper to produce but does not hold up to the same cycle count as metal tooling, so it is normally a bridge rather than a long-term production mold.
Finish treatment. Cavities for visible products may receive a smoother final finish so the molded surface shows fewer fiber marks. The treatment affects how the tray looks in a window box and how easily it releases, and it should be specified against your actual product grade.
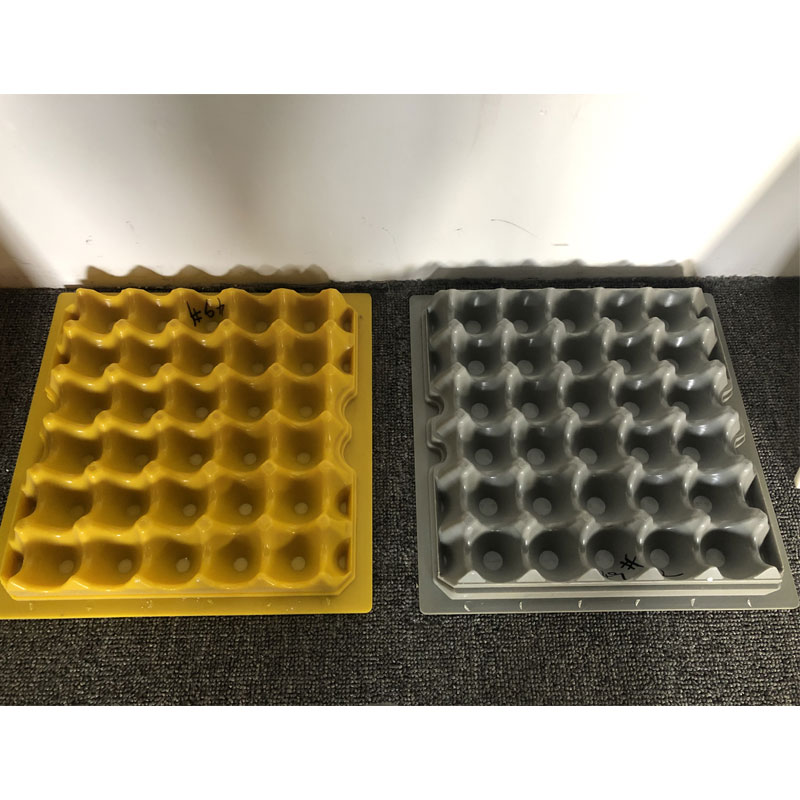
The number of cavities on a die directly shapes output. A single-cavity or two-cavity mold suits small batches, heavy-wall parts or products with large footprint; a multi-cavity die repeats the same tray across the forming surface to raise pieces per cycle. Because output equals cavities per cycle times cycles per hour, adding cavities is one of the main ways to increase line capacity without buying a second machine.
There are limits. The forming area, vacuum draw and drying capacity must keep up with every cavity added. Overloading the mold with more cavities than the station can support leads to weak parts or long cycle times, so cavity count is sized against the machine's actual forming area and the product's drying requirements, not chosen on tray count alone. When you request a mold, state your target hourly output so the supplier can match cavity layout to the line.
Many buyers run more than one product on a single line, which makes mold changeover a real operating cost. Check how the die mounts to the station, how long a change takes, and whether alignment guides or locating pins keep the cavity in position without repeated adjustment.
Compatibility also runs in the other direction: if you already own a forming machine, the new mold must fit its station size, stroke and vacuum manifold. If you are buying machine and mold together, the supplier configures both as one package. If you are adding a mold to an existing line, share the machine model and forming dimensions with the tooling supplier before the die is cut. Standard mounting interfaces make future mold changes faster and keep spare-cavity options open.
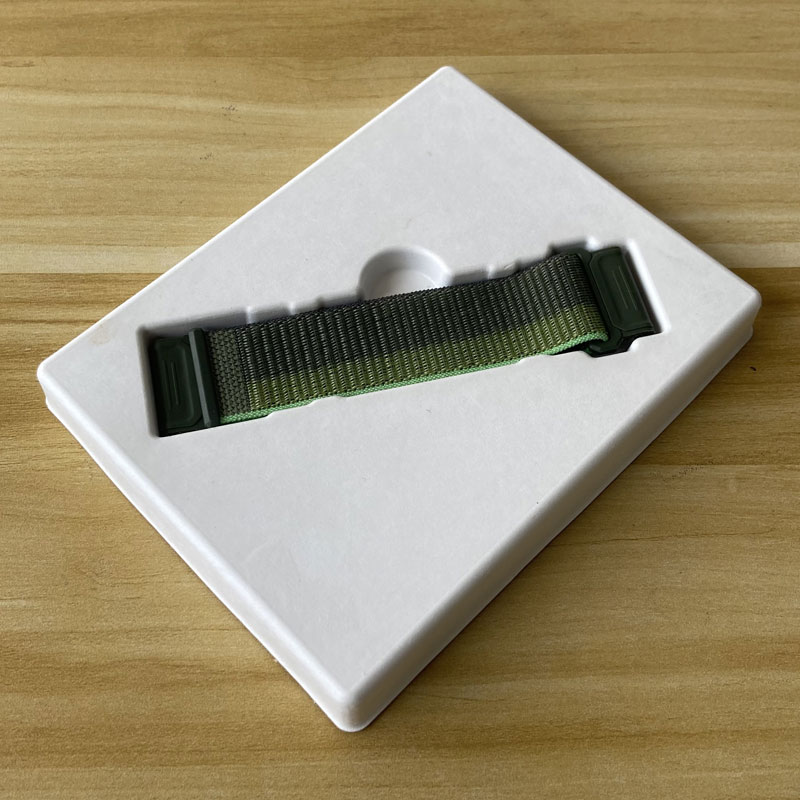
A custom mold is normally opened from a product drawing, a physical sample, or a finished box and bottle the insert must fit. The more complete the brief, the fewer revisions the sample stage needs.
From this brief the supplier proposes a cavity layout, opens the mold, and ships a sample for fit and release testing before bulk tooling is finalized. Revisions at the sample stage are normal; the goal is to catch fit, release and dimension issues before the production die is locked.
The mold is the bridge between your product design and the production line. Buying a capable machine without a well-designed cavity means the line cannot deliver the tray quality and output you planned; specifying the tooling against the machine, the product and the target output avoids that mismatch. Review the custom pulp molding die options and the aluminum forming die range, or browse the full paper tray mold catalog. If you have a product drawing, sample or target capacity, contact our engineering team with the details and we can advise on cavity layout, mold material and a sample run for your production line.

 +86 189 2452 1063
 s-dzhiyuan@163.com
 18924521063



Online Message

Follow Us


Top
