


News

News
Buying a pulp molding machine is only half of the project. The other half is getting it off the truck, aligned, connected, tested and running at rated output — the phase where first-time buyers often lose weeks of production. This guide explains how installation and commissioning actually works, from site preparation before the container arrives to operator training and handover, so you can plan realistically instead of relying on a vague promise that "the engineer will handle it".
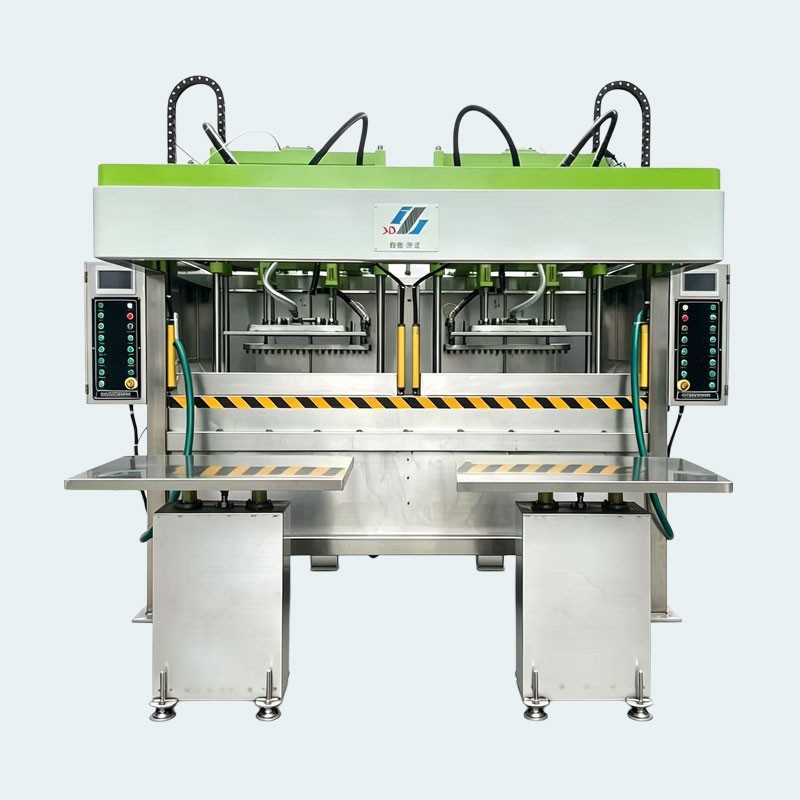
Most commissioning problems are decided before the machine reaches your factory. A line ordered without a site plan often arrives to find a floor that cannot carry the weight, a power supply one voltage short, or a doorway 20 cm too narrow. None of these can be fixed quickly.
Treat installation as a design task, not a moving job. Before confirming the order, ask for the full installation drawing package: foundation loads, utility consumption, footprint, lifting points and clearance for mold changes. Then check every number against what the building can actually deliver.
If the machine configuration is still open, compare the available options on our pulp molding equipment page before the foundation is poured. Changing a machine after that point is one of the most expensive decisions in the whole project.
Pulp molding machines are heavy and vibrate. The forming station, hot press and pulping system need a load-bearing floor, often a dedicated concrete pad. Allow working space for mold changes and maintenance — a line with 30 cm clearance costs hours on every mold swap.
Check the route from the container to the final position before delivery day: door widths, turning radii, ceiling height and crane capacity against the heaviest component. A machine that cannot be moved into the building cannot be fixed with extra labor.
Confirm the total connected load, the starting current of the largest motor, and whether the machine is wired for your local voltage and frequency. Voltage mismatches are common in export projects and require a transformer or motor replacement. Size a dedicated distribution board with spare capacity for future expansion.
Wet-end equipment needs reliable water at stable pressure, plus drainage for process water and cleaning. If you recycle white water, fix the tank and pump layout before the machine arrives. Keep pulp preparation close enough that stock reaches the headbox without losing consistency.
Pneumatic circuits drive clamping and mold transfer, so confirm air volume and pressure, not just compressor rating. Wet-press lines also need steam or thermal oil for the hot press, plus ventilation to remove moisture and heat. In humid climates, poor ventilation distorts trays even when the machine runs perfectly.
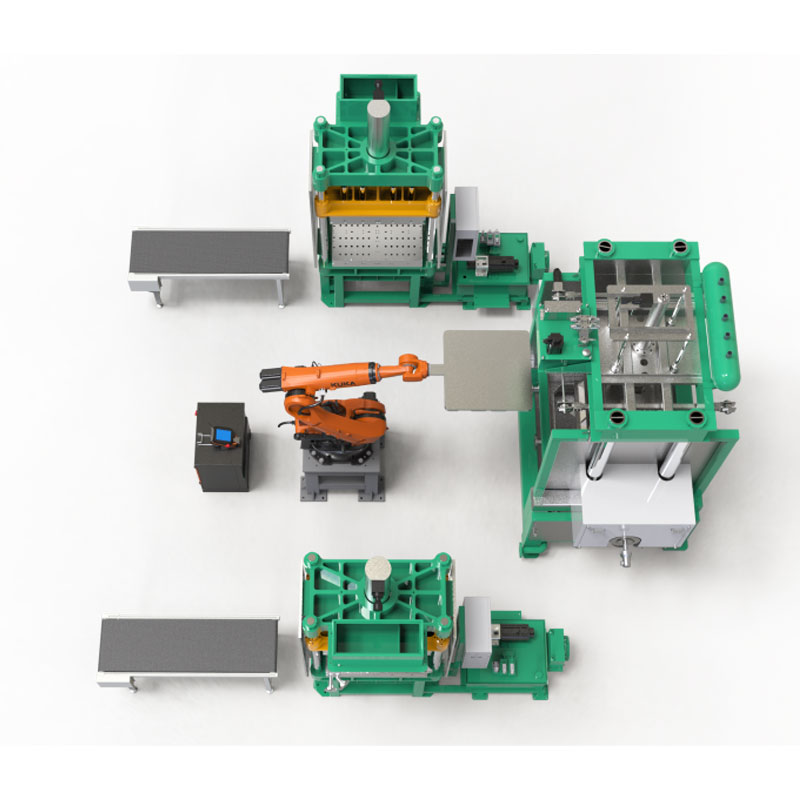
Place the machine on its marked centerline and level it with precision shims before wiring. An out-of-level forming station causes uneven vacuum, which appears later as thickness variation and weak corners. Anchor the frame after leveling, then re-check once the hot press reaches working temperature.
Mechanical work covers frame assembly, transfer rails, mold clamping, hydraulic or pneumatic connections and guarding. Electrical work covers the control cabinet, sensors, servo drives and safety interlocks. Keep the two trades on separate schedules and test each circuit before powering the whole line — a single miswired sensor can trigger faults that look like mechanical failures.
Do not skip the safety check. Guarding, emergency stops, and interlocked access doors are part of commissioning, not optional extras, and they are also the first thing a local inspector will ask about.
With the forming machine in place, connect the stock line, white water return, vacuum system and, on wet-press lines, the hot press and trimming stations. Run clean water through the circuit first to flush construction debris and confirm there are no leaks at joints, flanges and pump seals. Only then charge the system with pulp at the target consistency.
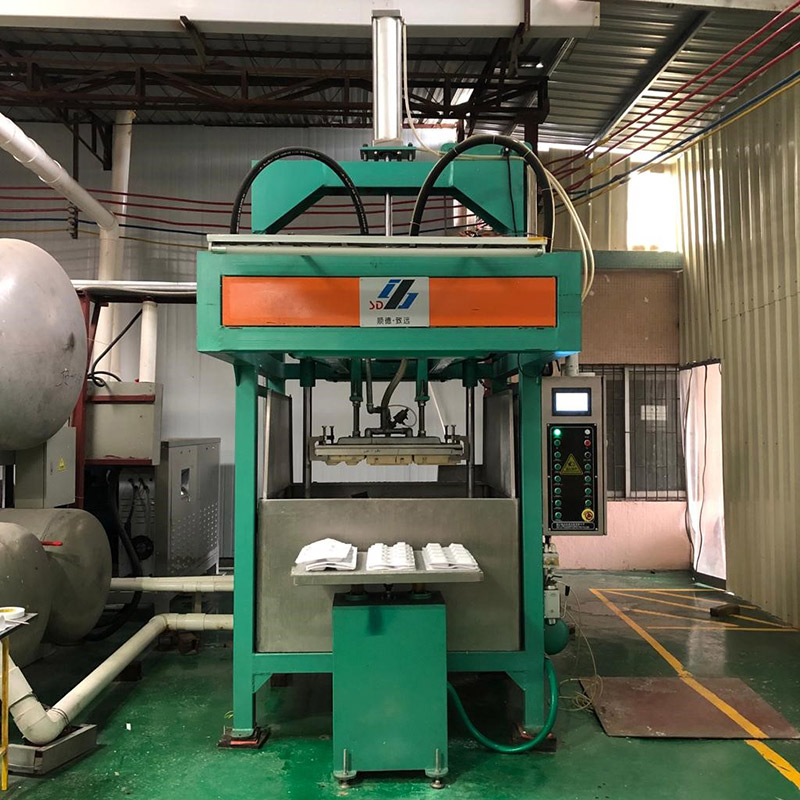
For a compact wet-press configuration that combines forming and hot pressing in one frame, see the one water one heat automat — its installation sequence is shorter than a multi-station line, but the utility requirements are the same.
Run the machine without pulp: check mold open and close positions, transfer synchronization, vacuum level and holding pressure. Confirm that every safety interlock stops the line as designed. This cold test is the cheapest hour of the entire project, because problems found here cost time, while the same problems found during production cost product, molds and reputation.
Start trial production with a single mold and a simple product, then measure what comes out: wall thickness, weight, dimensional accuracy, moisture content and surface finish. Adjust pulp consistency, vacuum timing and press pressure one variable at a time. Keep a record of each change, because the settings that work on day one become the baseline your operators will use for the next five years.
Do not move to full-speed production until three consecutive batches meet specification. A line that produces good samples at low speed but fails at rated speed usually has a vacuum, drying or transfer problem that will not fix itself with more pressure.
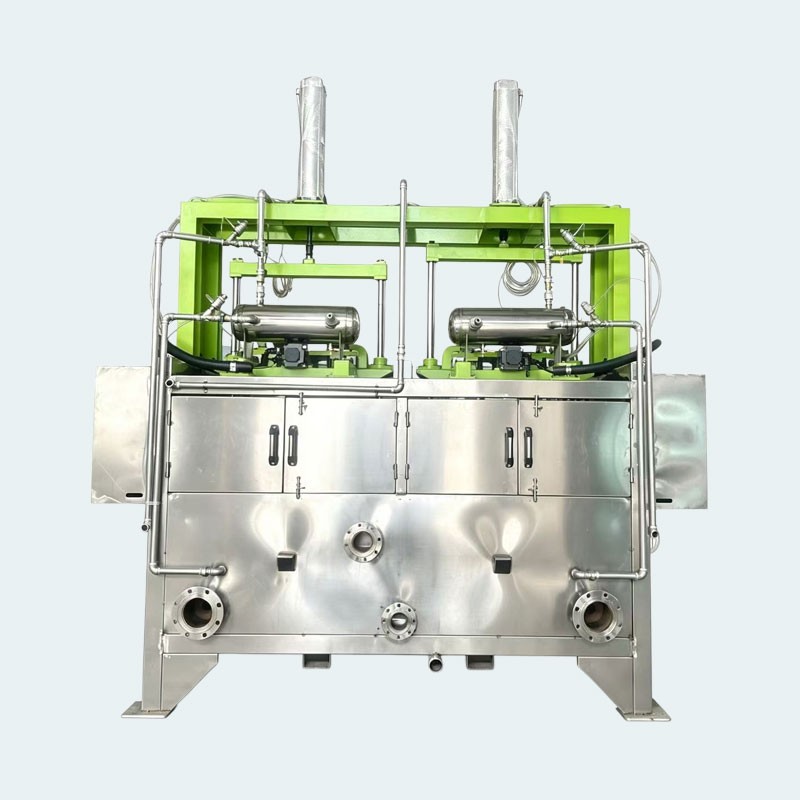
Commissioning ends with people, not machines. Insist on structured training that covers startup and shutdown sequences, mold changes, pulp preparation, routine inspection and fault response. Ask the engineer to watch your operators run the line unsupervised for at least one full shift before handover, and record the session — new staff turn over, and a video of correct operation is worth more than a translated manual.
Handover should include as-built drawings, spare parts list, PLC backup, maintenance schedule and the final parameter sheet. If any of these are missing, the machine is not really handed over; you have simply taken delivery of hardware.
For a single semi-automatic line, mechanical installation and cold testing typically take one to two weeks, with trial production and tuning adding another week. A fully automatic line with pulping, multiple hot press stations and trimming usually needs three to five weeks from unloading to stable output, depending on site readiness and the number of molds to be proven. Add time for customs clearance, inland transport and any local electrical work — those steps sit outside the supplier's schedule but inside yours.
The same issues appear in project after project:
Utilities delivered late. The machine arrives before the transformer, boiler or compressor is ready. Treat utilities as a critical path item with its own deadline, two weeks before shipment.
Foundation poured to the wrong drawing. Dimensions change between quotation and final layout. Confirm final drawings in writing before pouring.
Molds proven too late. Tooling arrives after the line. Agree the mold schedule within the same delivery window and approve samples before shipment.
No local support plan. The supplier's engineer leaves and nobody can troubleshoot. Agree remote support, spare parts and response times in the contract.
Installation is where good contracts earn their value. Specify who supplies and pays for the installation engineer, how many days of on-site commissioning are included, what happens if output misses the guaranteed figure, and which spare parts ship with the machine. Include a performance acceptance test with measurable criteria — output per hour, weight tolerance, energy consumption per ton — rather than a subjective "satisfactory operation". Agree the training scope and documentation language in advance; buyers who leave these points to the final email usually pay for them twice.
Installation goes smoothly when the machine, the molds and the site plan are designed together. If you are at the planning stage, review the single cylinder molding machine for small-scale start-ups, or browse our molded pulp product range to see what the line can produce. When you are ready to compare configurations and get a site-specific installation checklist, contact our engineering team.

 +86 189 2452 1063
 s-dzhiyuan@163.com
 18924521063



Online Message

Follow Us


Top
